<--- Clover PracticePay Help /Clover Devices
Set up a Flex Pocket
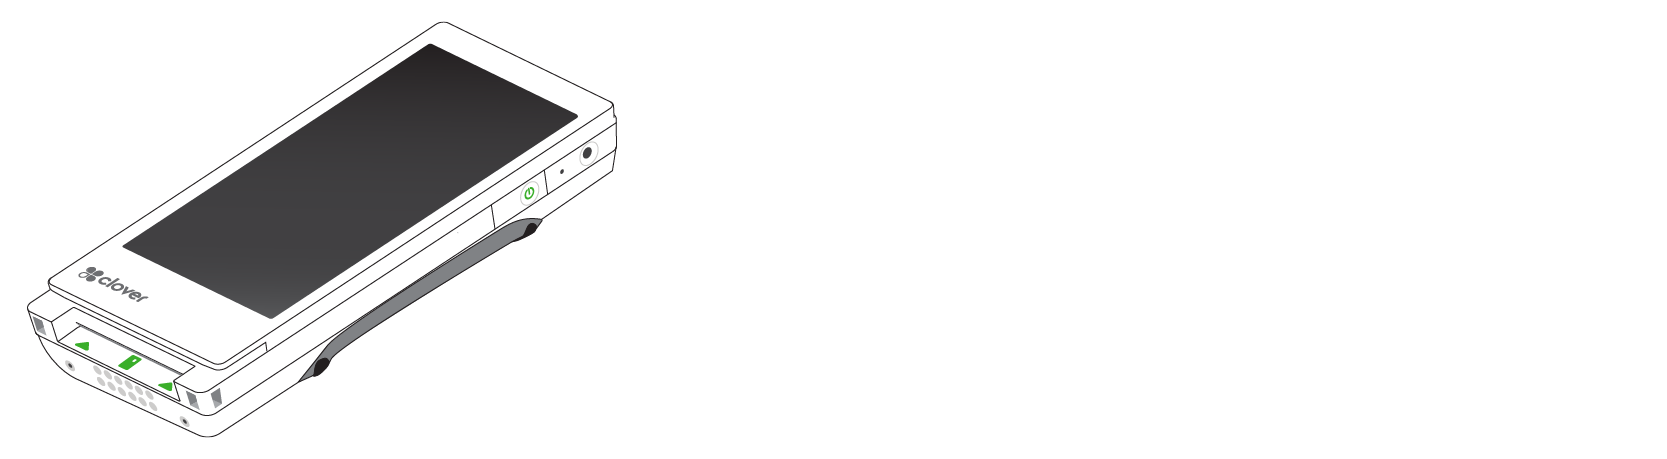
With Clover Flex Pocket, you can accept payments however your customers prefer. Customers can insert, swipe, or tap a card, or use Apple Pay®, Google Pay™, and Samsung Pay® by tapping an NFC-enabled phone or watch on the contactless payment reader. With most customers preferring paperless transactions, the Flex Pocket does not include a built-in receipt printer.
Here’s a guide to what’s in the box, what features are on the Flex, and how to get ready to use it.
What's in the box
Your Flex Pocket ships with items documented in the Flex Pocket Quick Start Guide (PDF).
Flex Pocket

Power adaptor

Screwdriver (included in select regions)
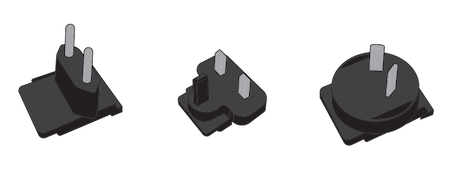
Applicable plug(s) for select regions
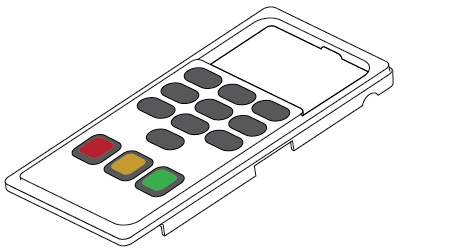
PIN entry aid (included in select regions)
After you set up your Flex Pocket, you need to activate and secure your device.
Manage your Flex Pocket
Charge your Flex Pocket
The Flex Pocket arrives with enough battery power to set it up and activate it. You can fully charge it whenever you have the time.
1. Hold the charging cradle upside down
2. Firmly insert the cord attached to the power brick into the charging port, and thread the cord across and out the back.
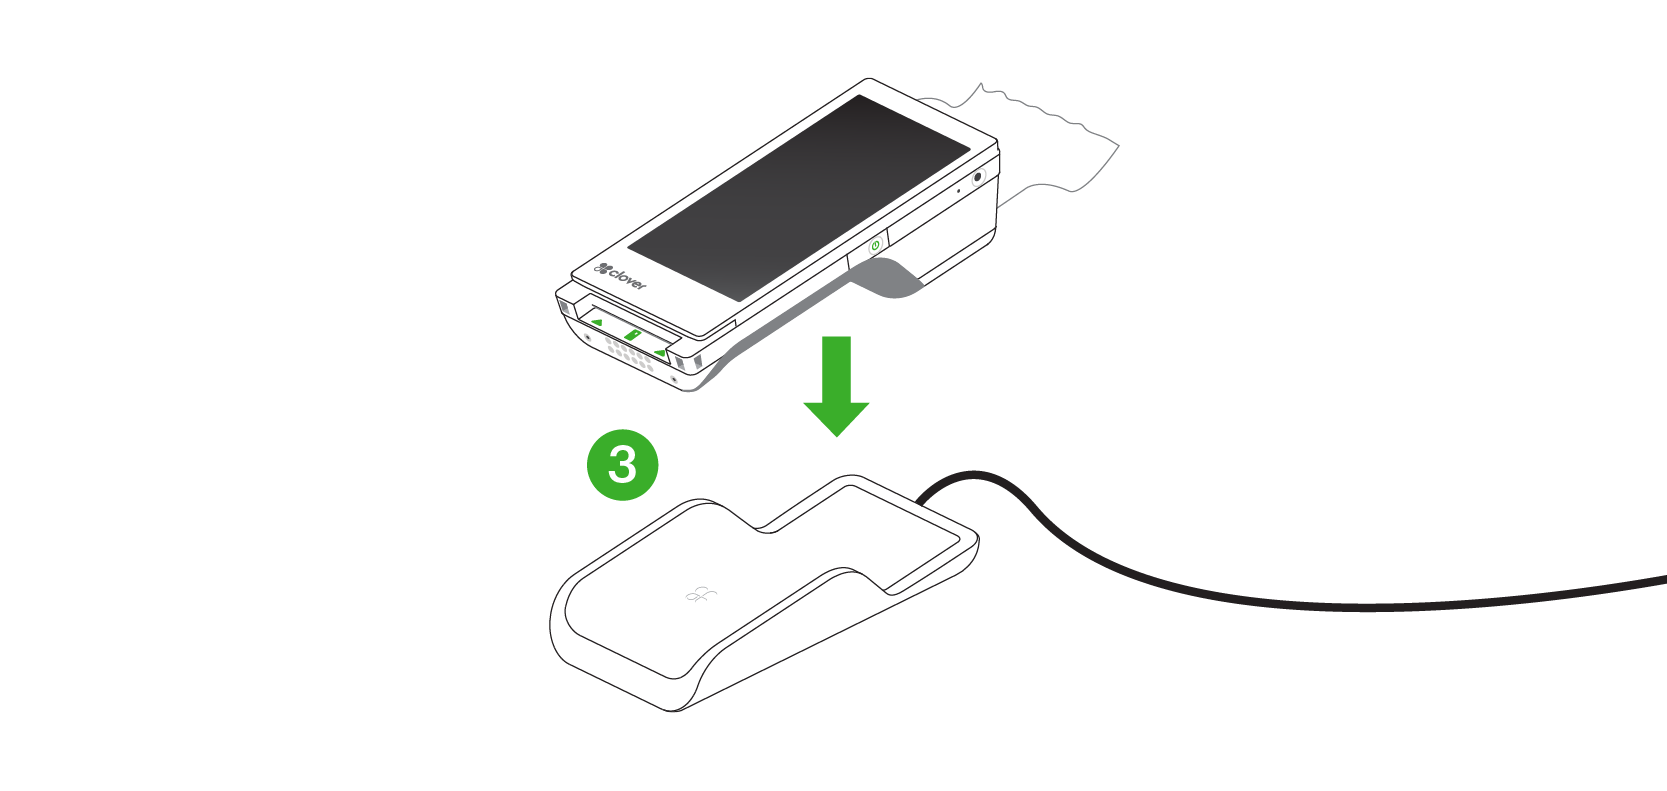
3. Plug the power cord into the Flex and into a power outlet.
4. Set the Flex on top of the charging cradle.
5. Charge until the indicator lights on the cradle turn solid green.
Replace the Flex Pocket battery
Follow these instructions to replace a Flex Pocket battery.
1. Power off the device.
2. Use a 1.5mm hex key or hex screwdriver to remove the two screws on the back.

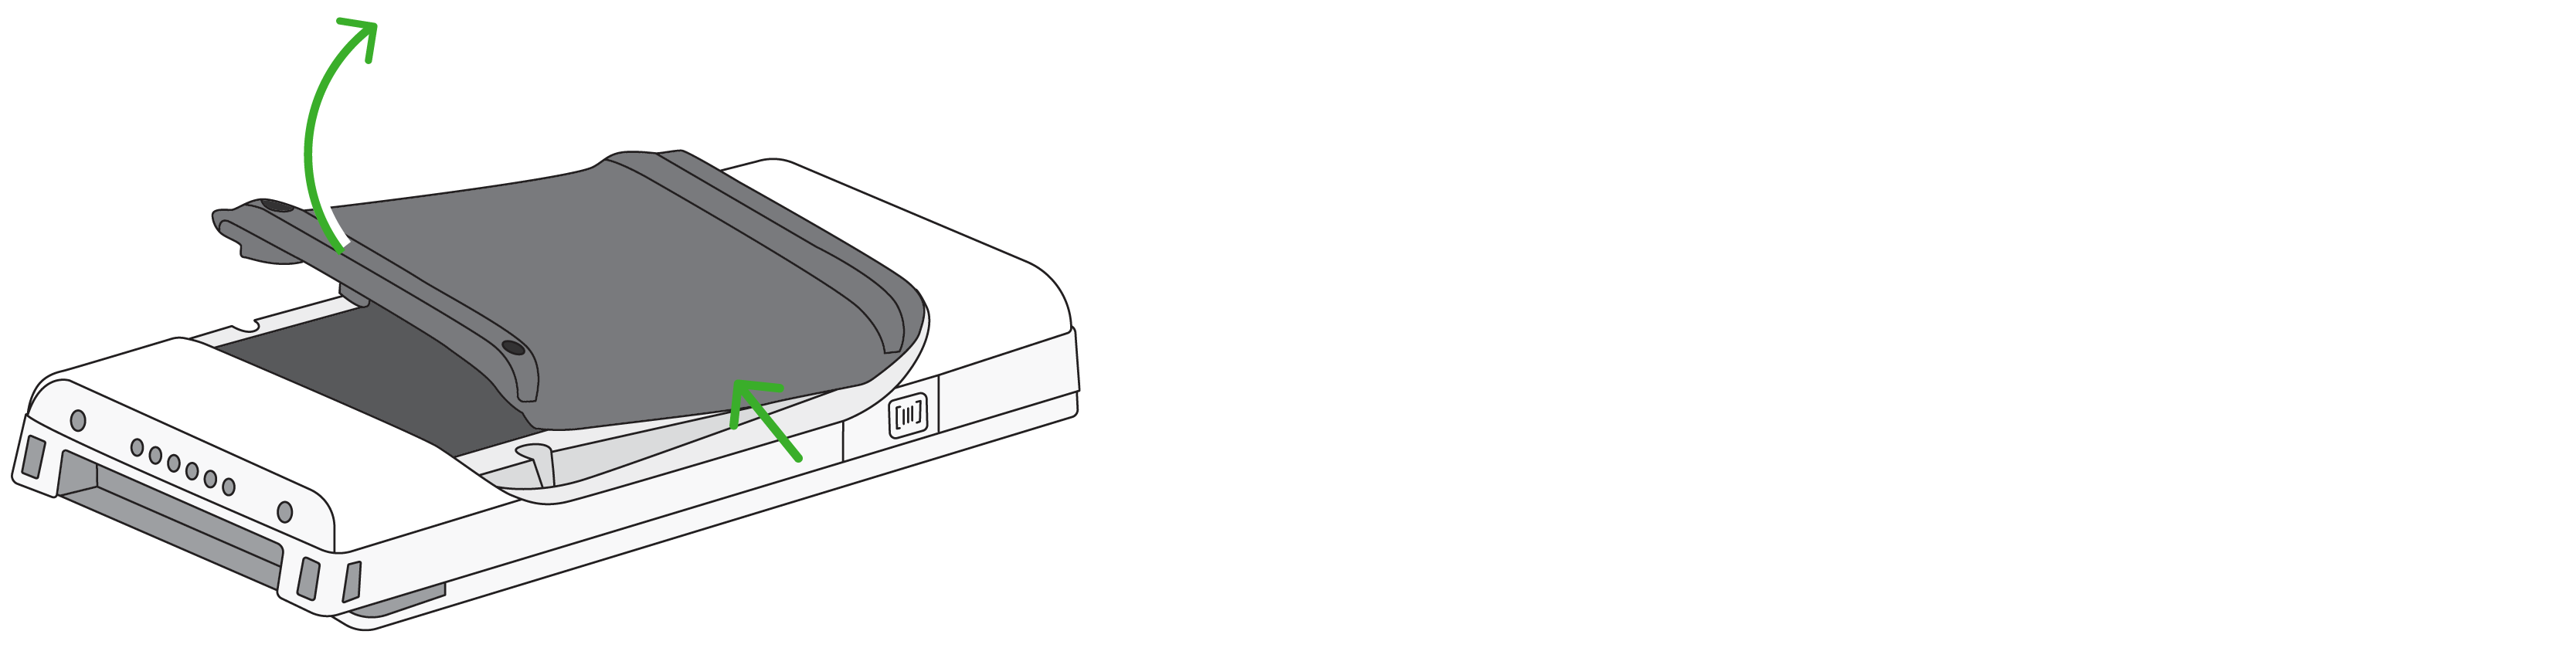
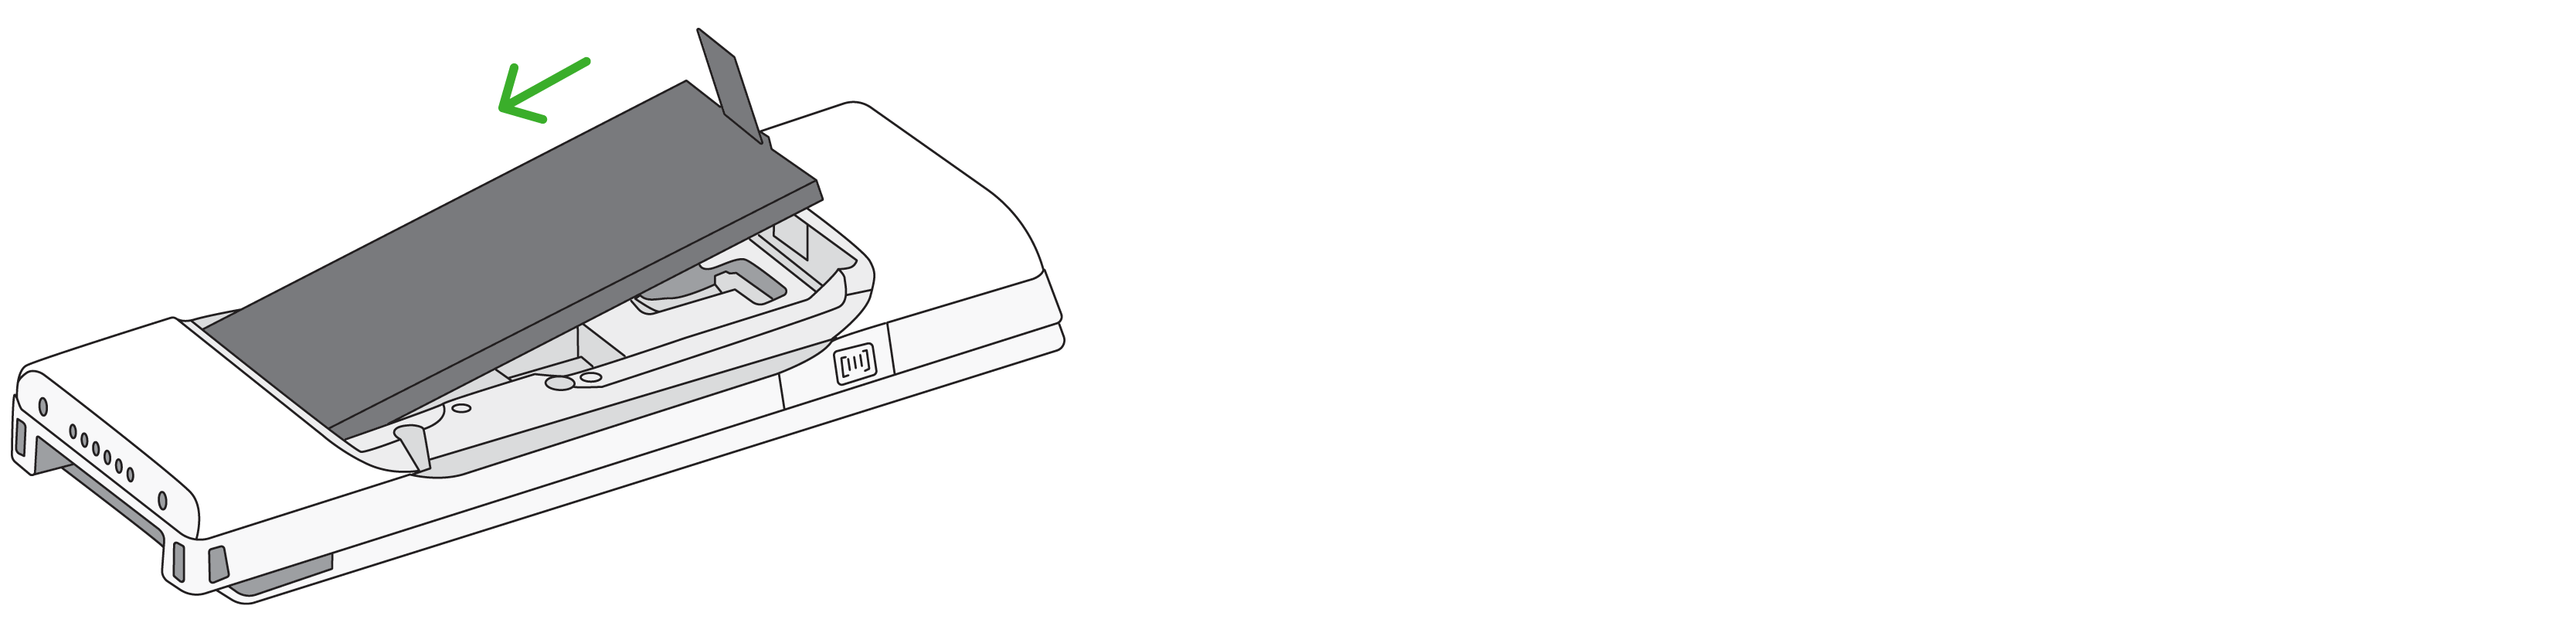
3. Lift off the battery door.
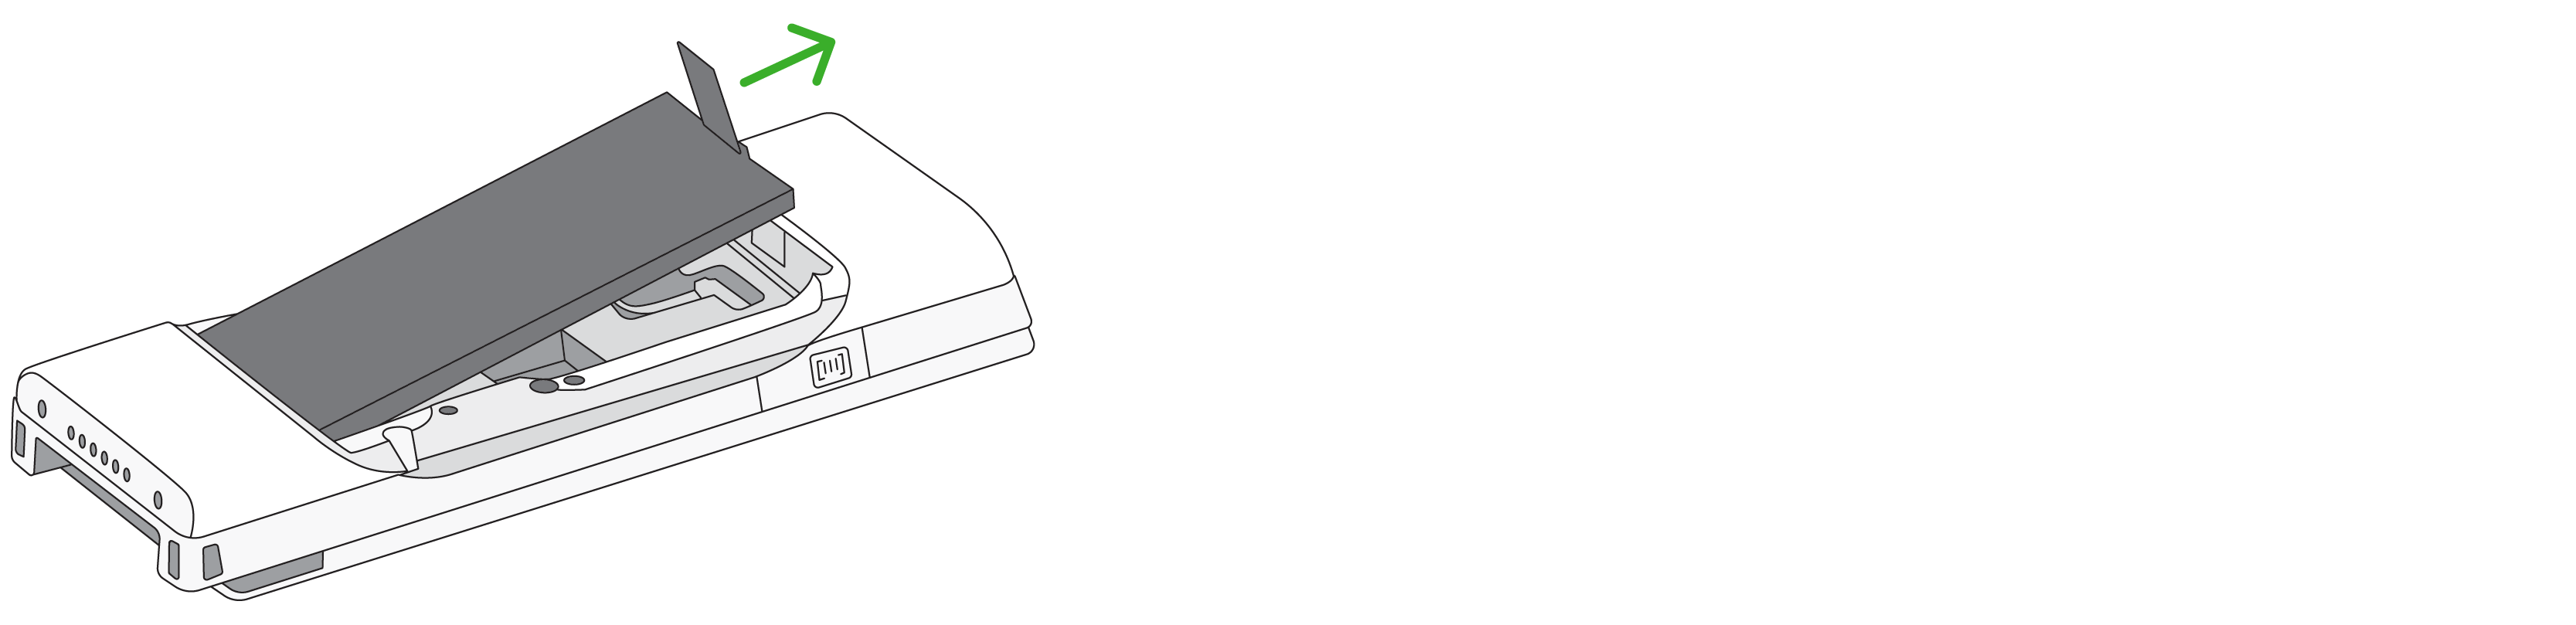
4. Pull the tab downward, and then upward, to release the battery.


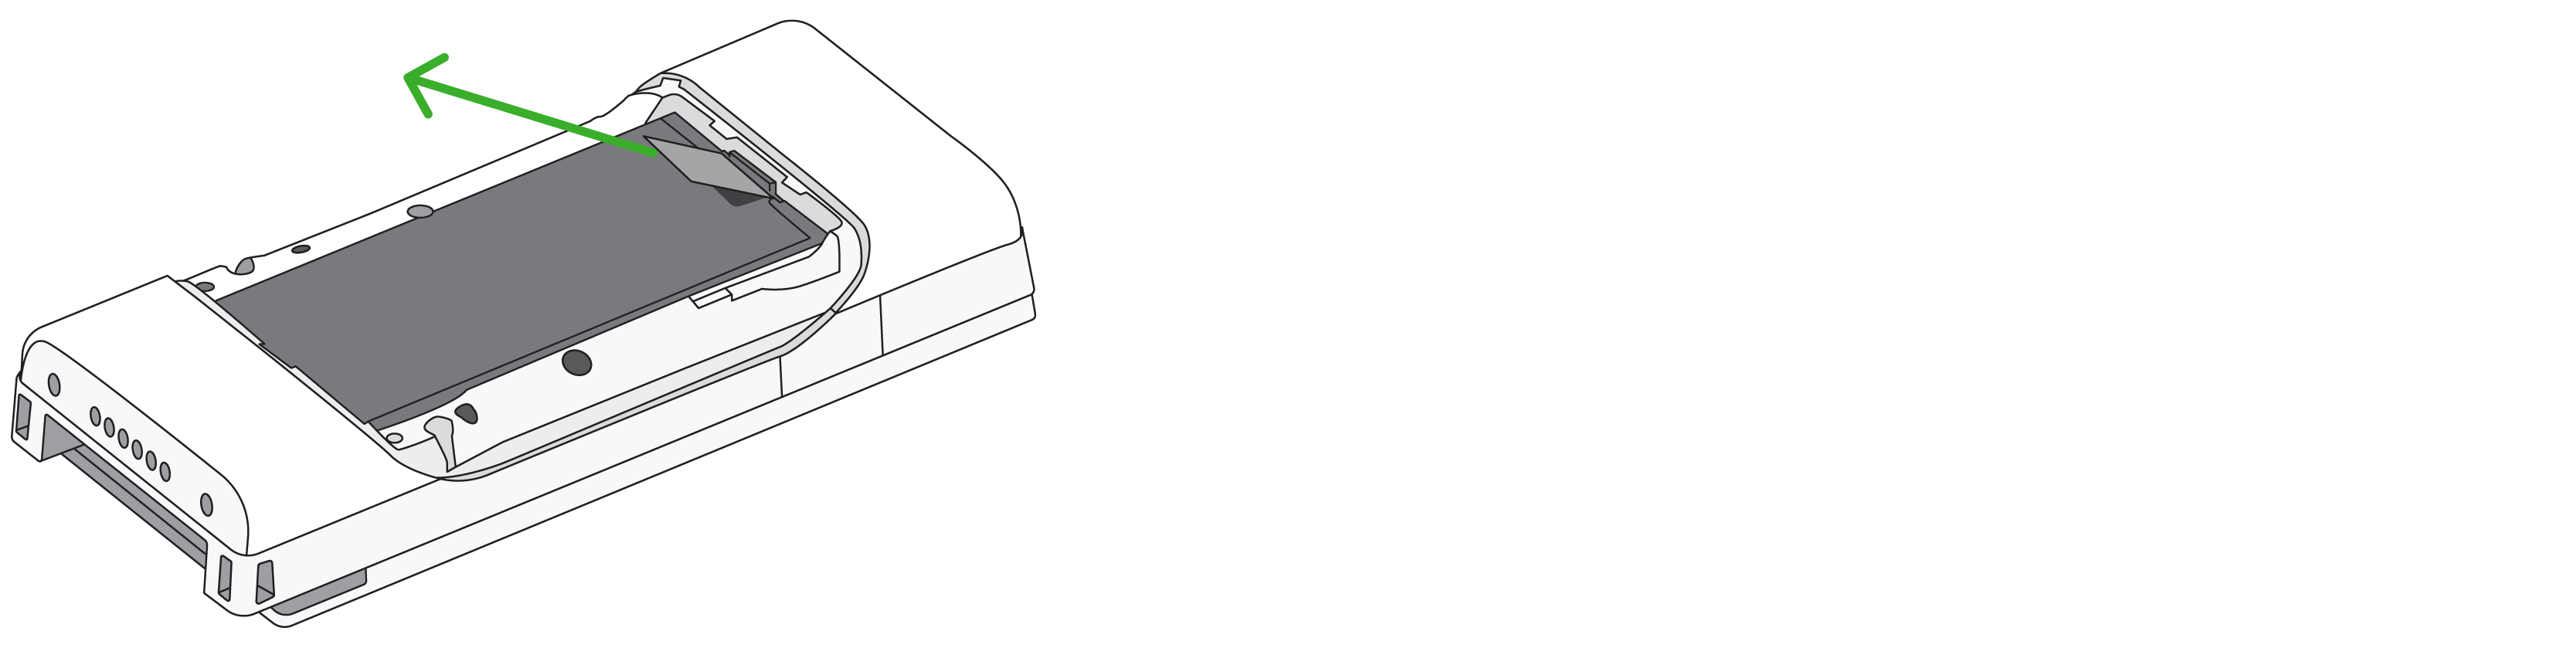
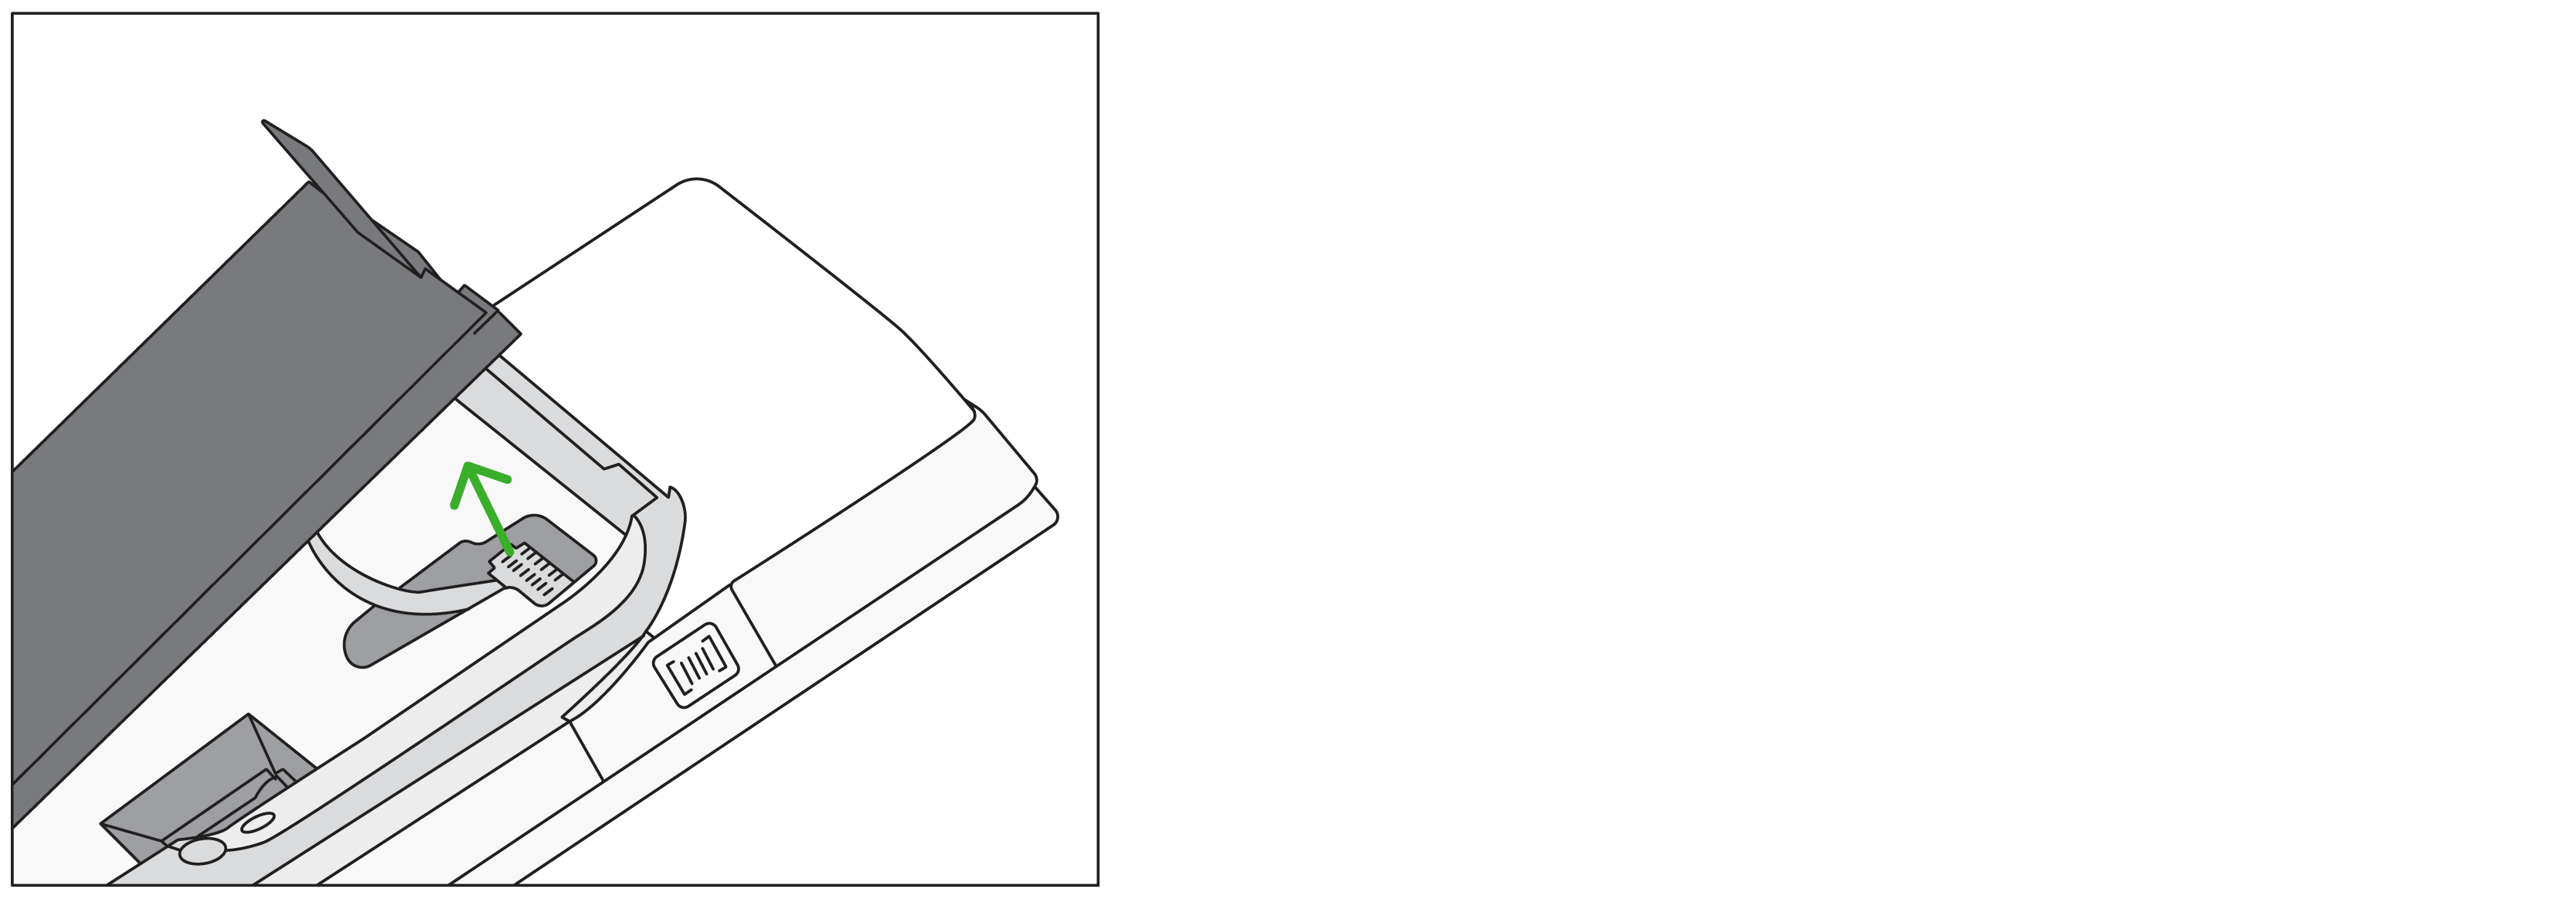
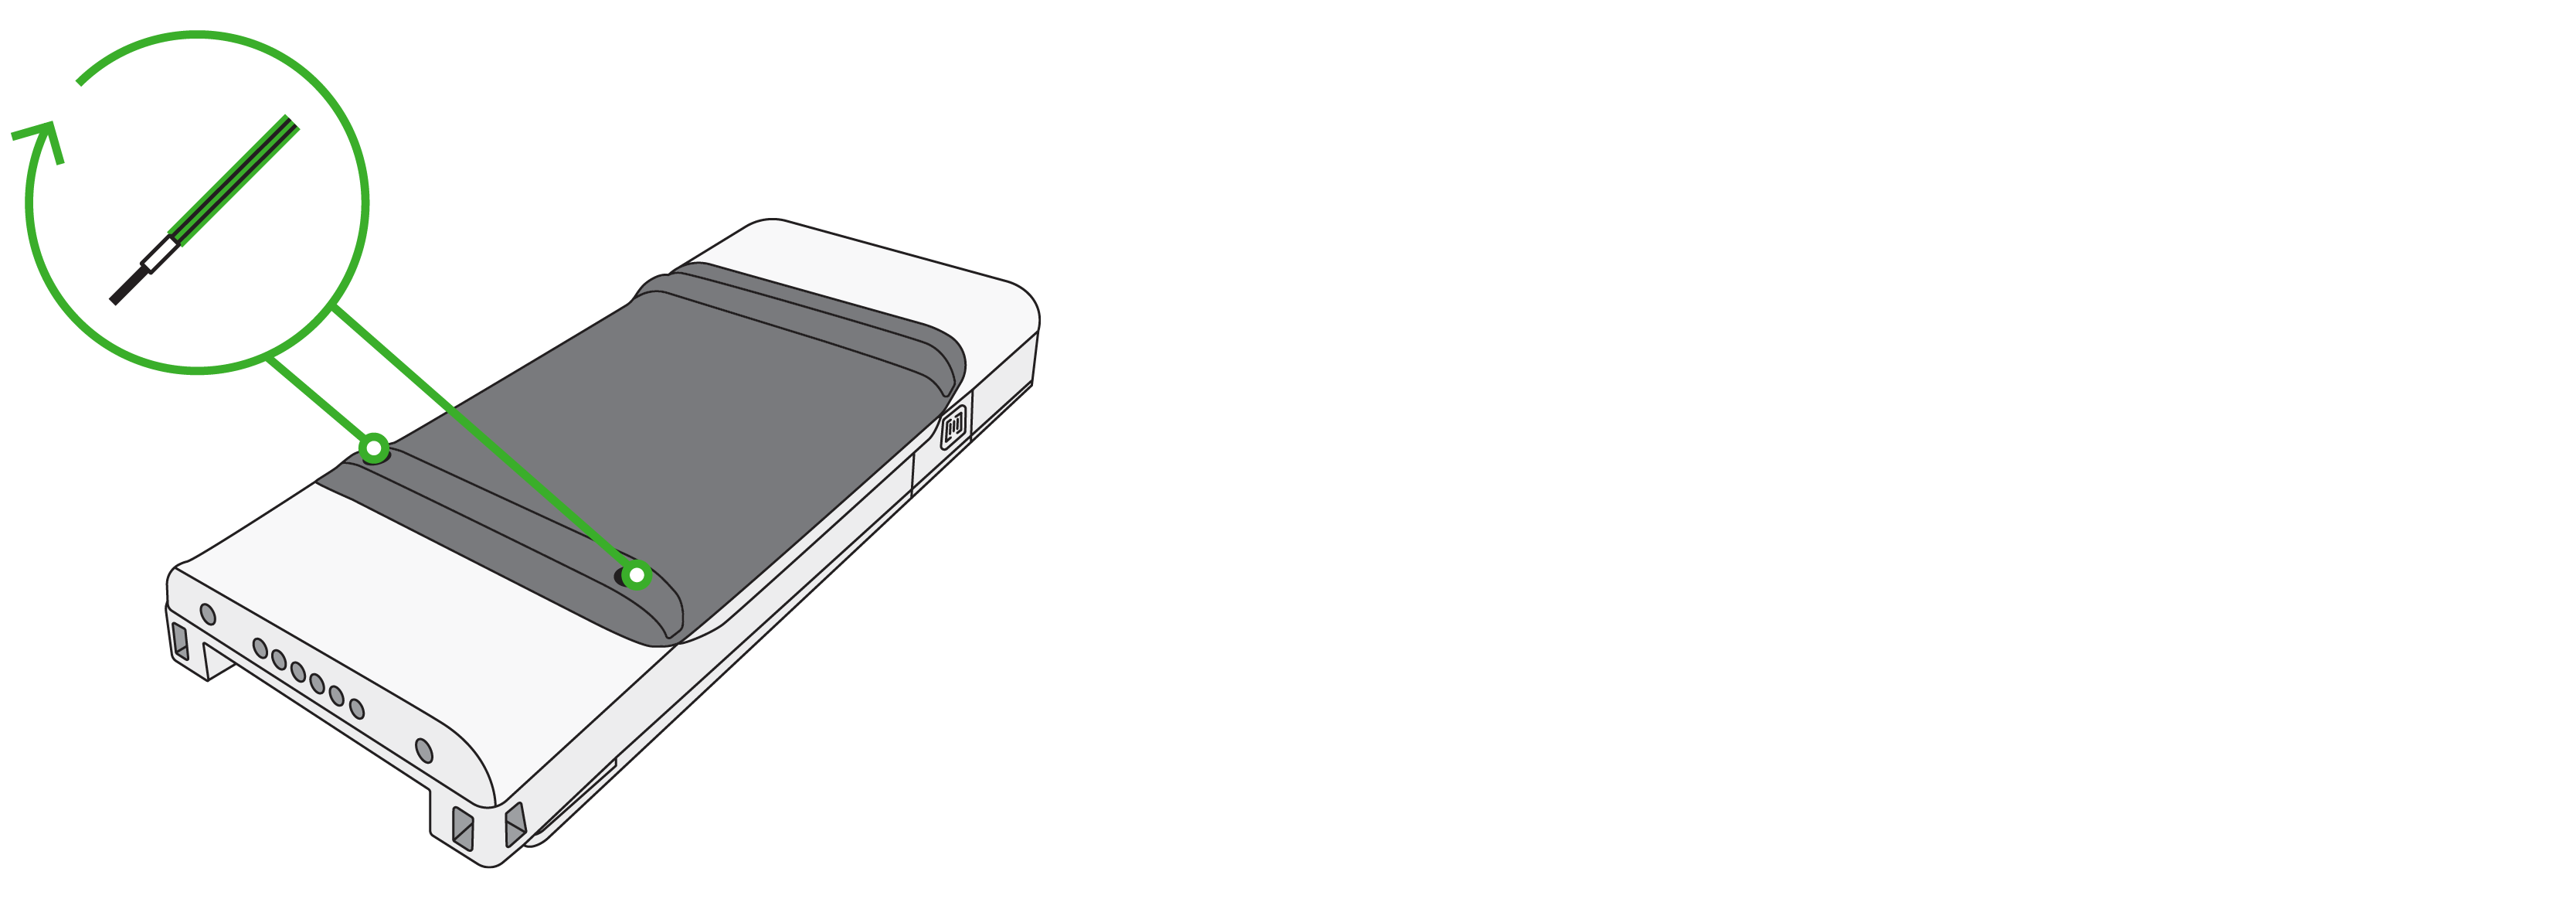
5. Detach the battery cord from the device.

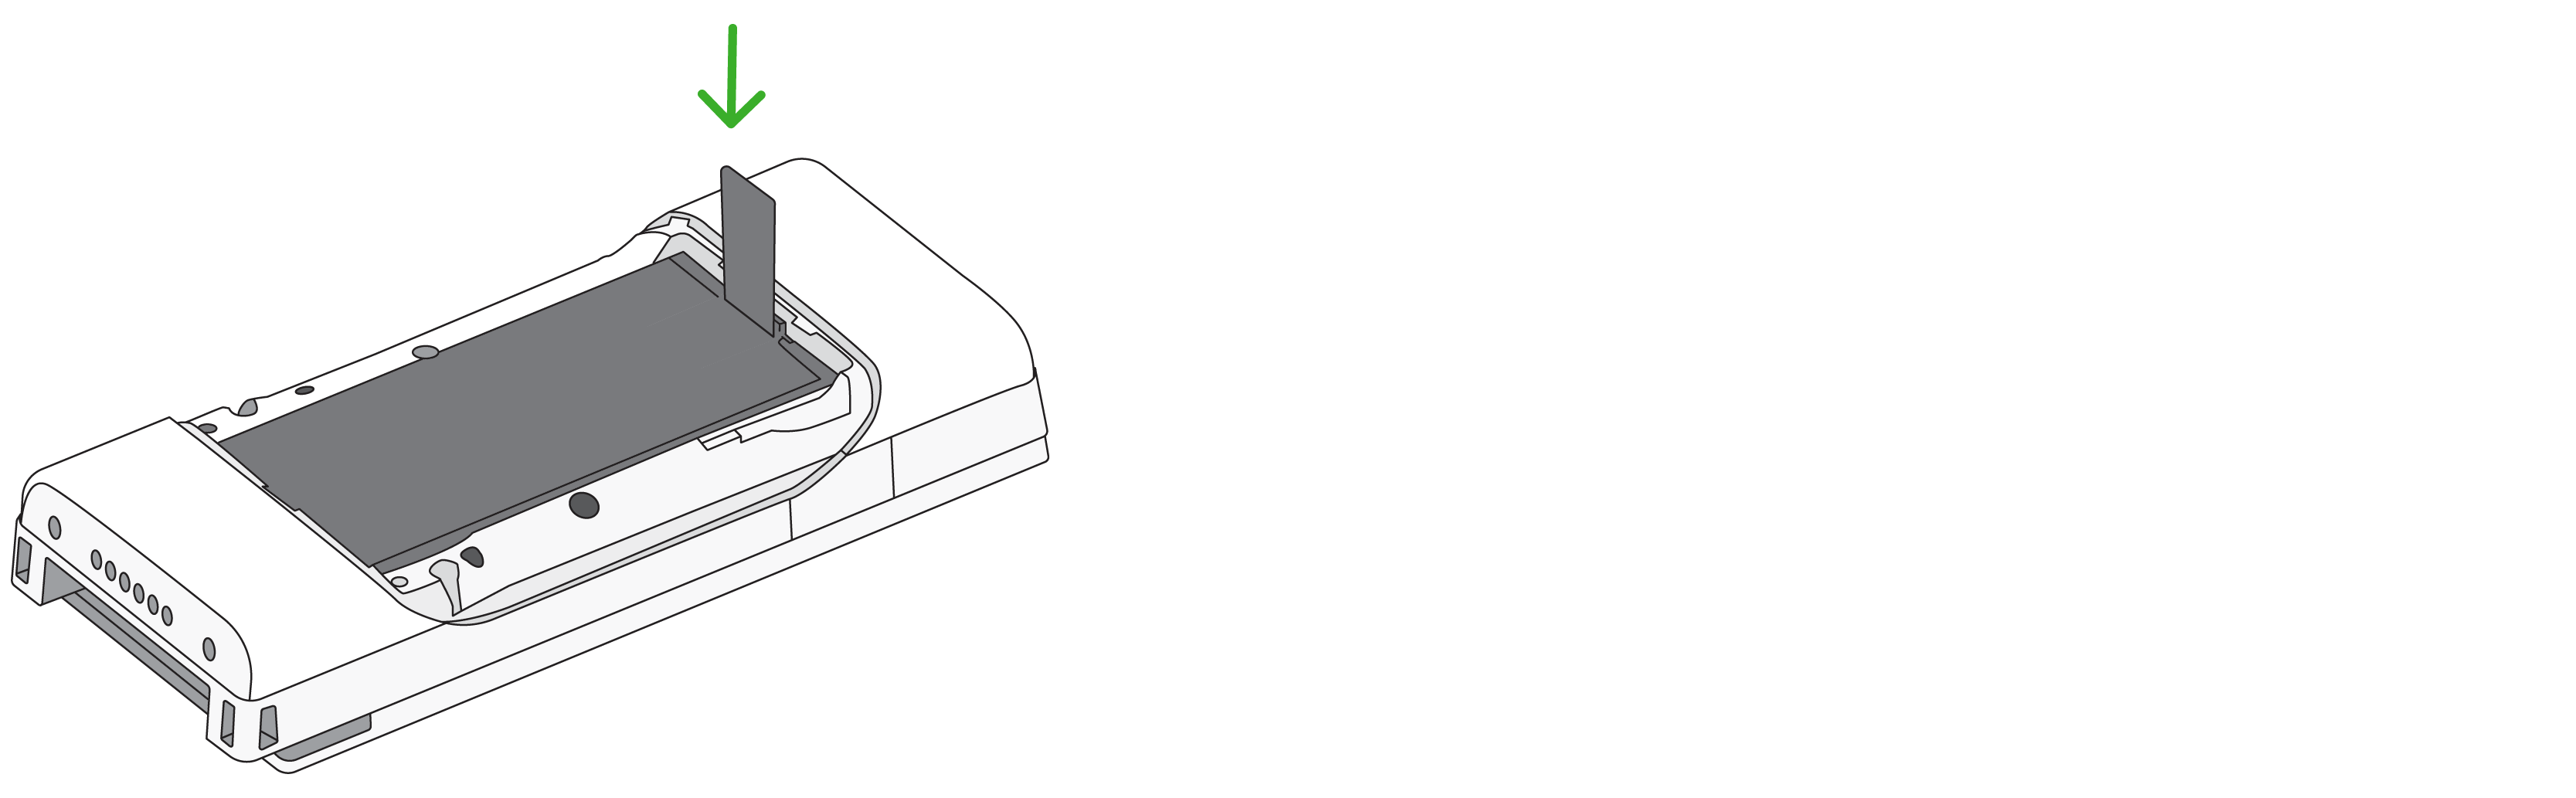
6. Attach the new battery cord to the device.

7. Reassemble the battery by sliding the bottom of the battery back into the device.

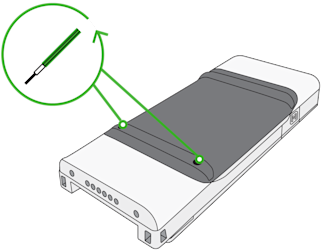
8. Reattach the battery door. Slide the A side into place first, then push down on the battery door to snap the B side into place.

9. Reinstall the 2 screws to secure the battery to the device.
Change the Flex Pocket SIM card
The Flex Pocket comes with a pre-installed SIM card. If you’d prefer to use your own SIM card, you can replace the existing one. To access the SIM card, you'll need to remove the battery from the device first.
1. Power off the device.
2. Use a 1.5mm hex key or hex screwdriver to remove the two screws on the back.

3. Lift off the battery door.

4. Pull the tab downward, and then upward, to release the battery. Detach the battery cord from the device.
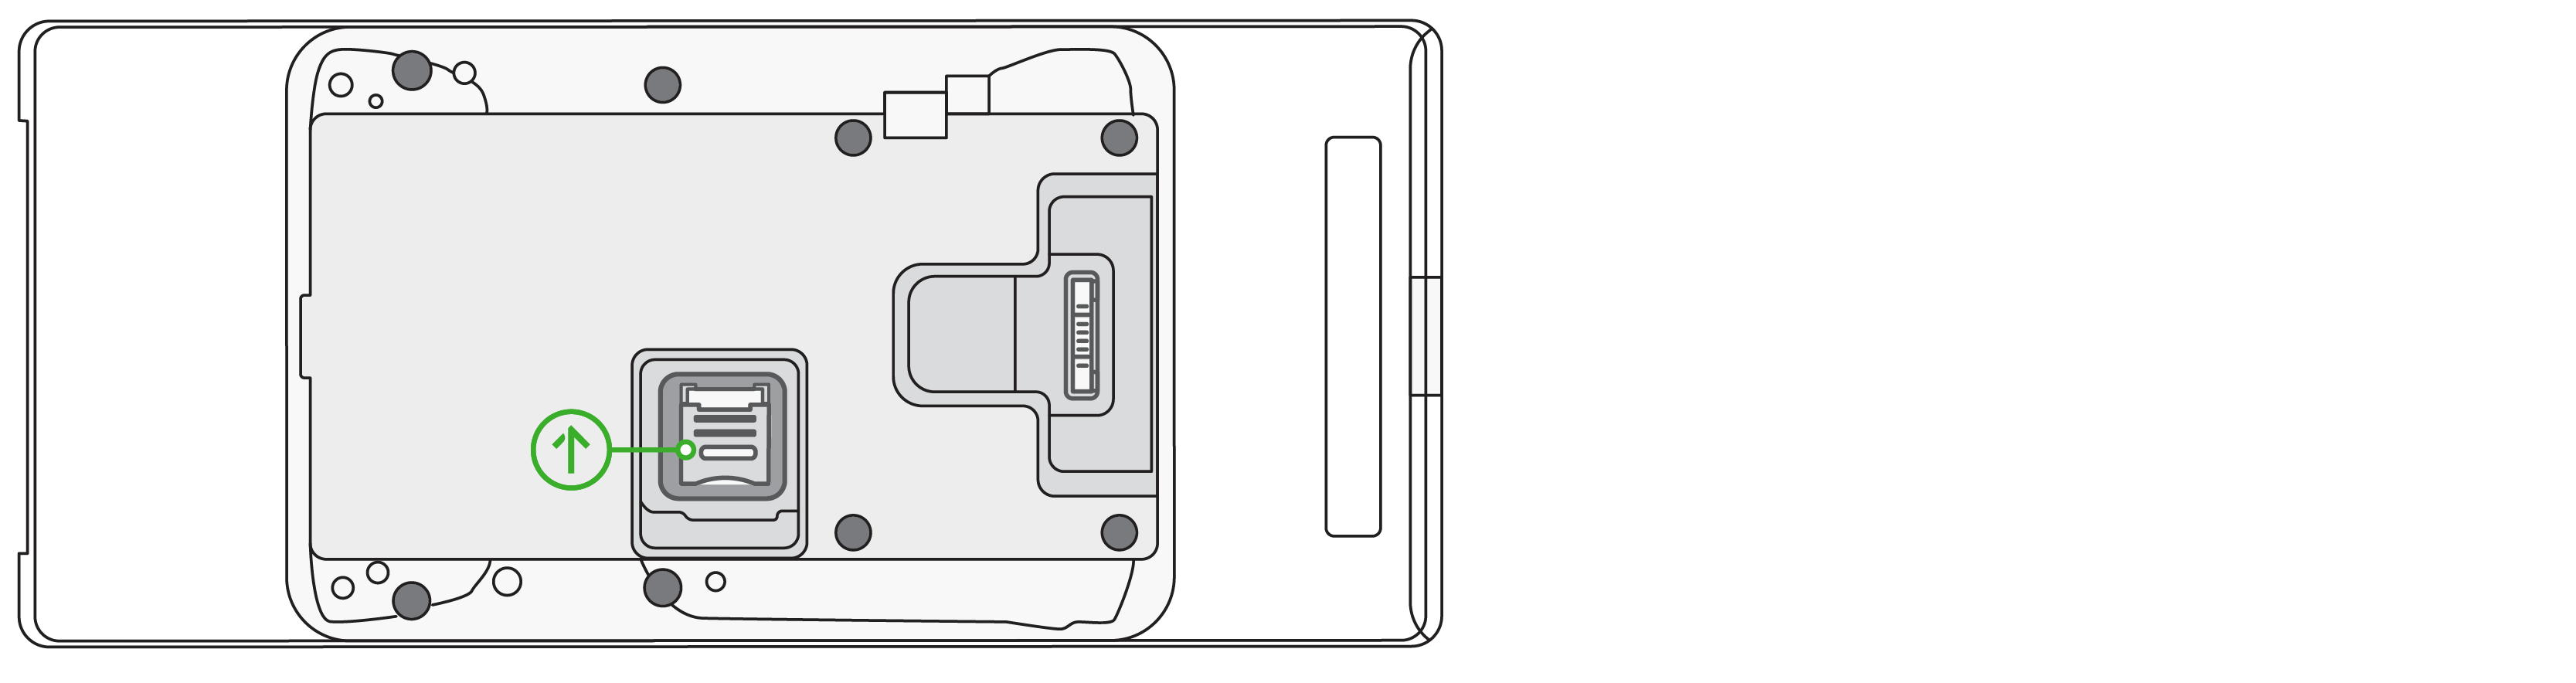
5. Remove and replace the SIM card.
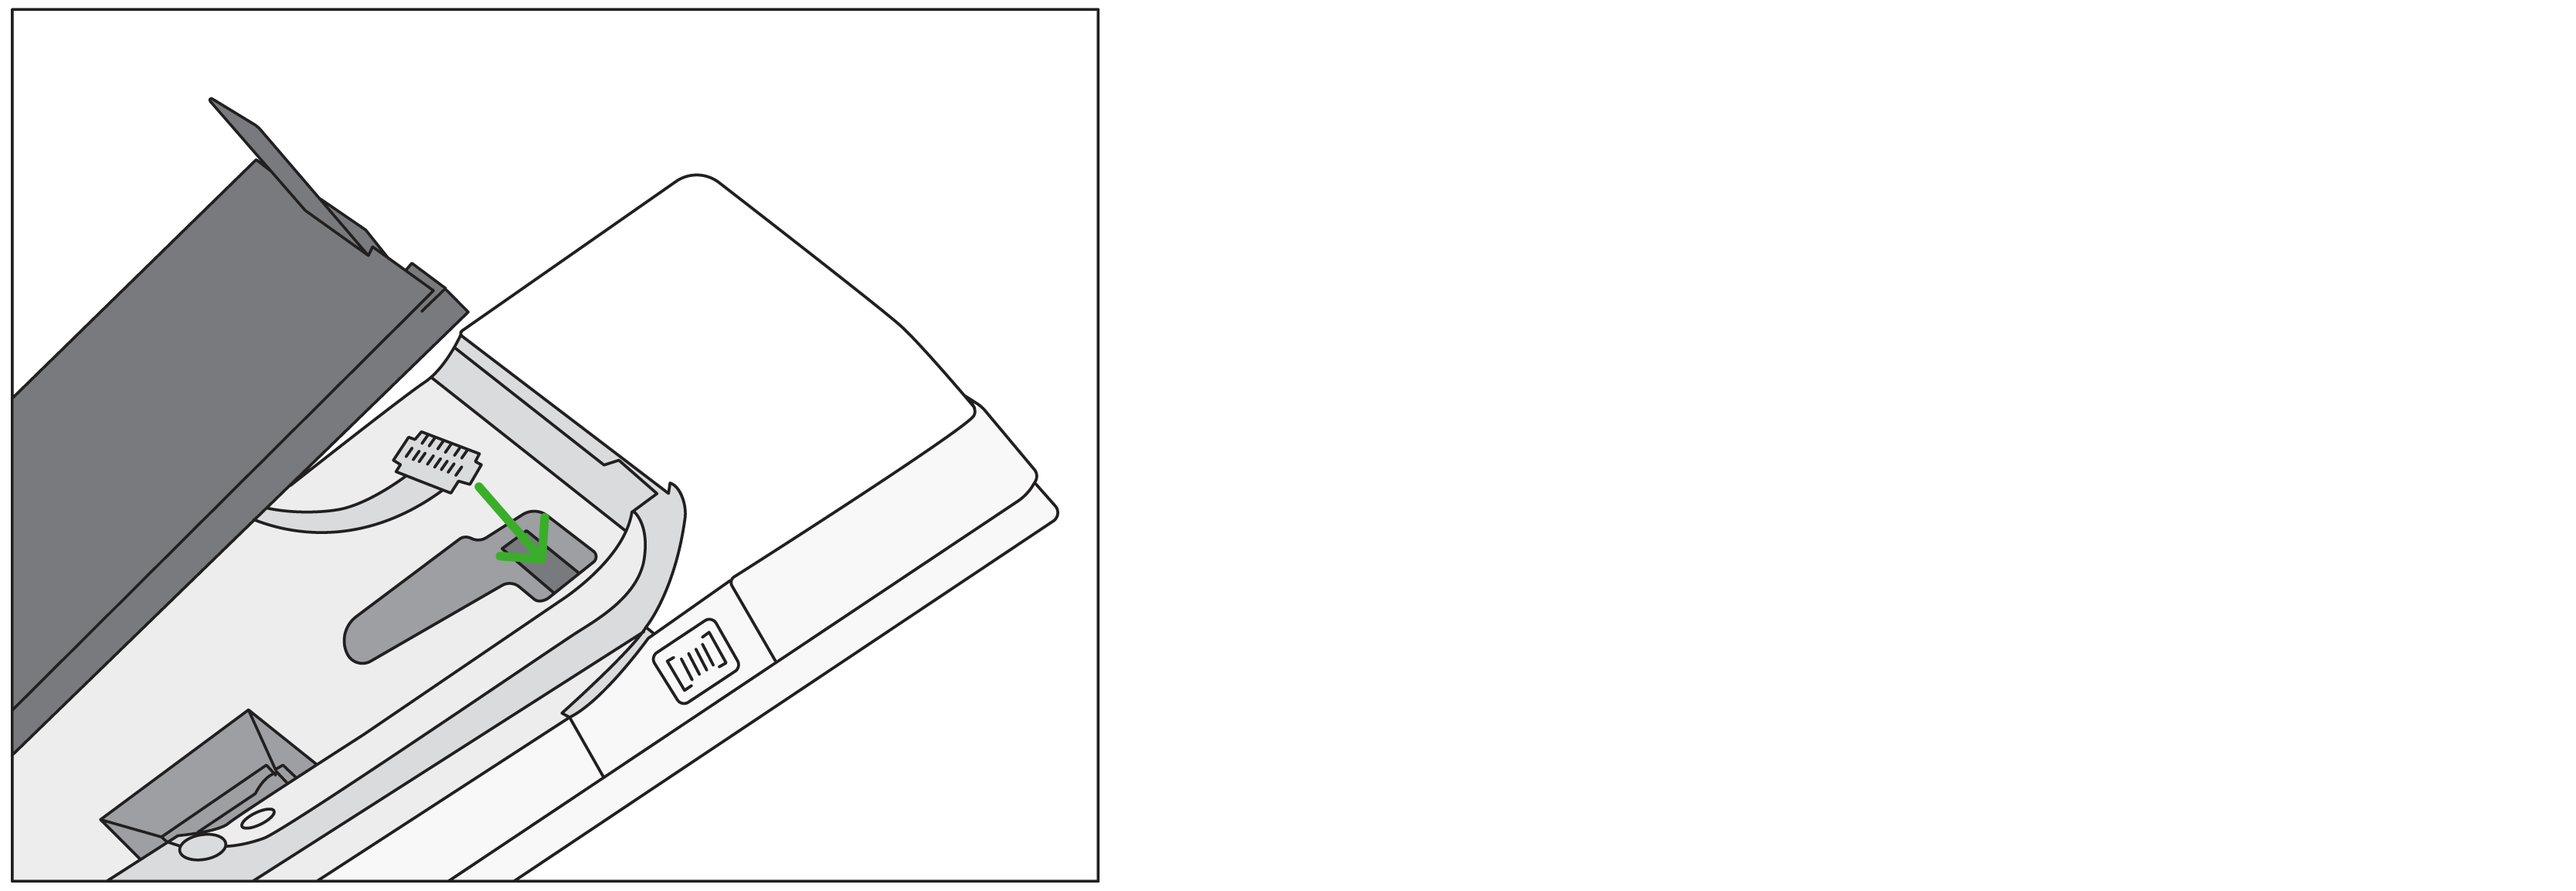
6. Reattach the battery cord to the device. Then, reassemble the battery by sliding the bottom of the battery back into the device first.


7. Reattach the battery door. Slide the A side into place first, then push down on the battery door to snap the B side into place.
8. Reinstall the 2 screws to secure the battery to the device.